We have a lovely challenge today on the Uniko Studio blog. Yep, still trying to get back into the swing of things and still being slow at making a card.
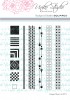
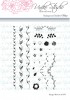
 |
| Photo Credit: Design Seed |
And our theme this challenge is Clean and Simple. I completely bombed this challenge, but at least I sort of tried to follow the color palette.
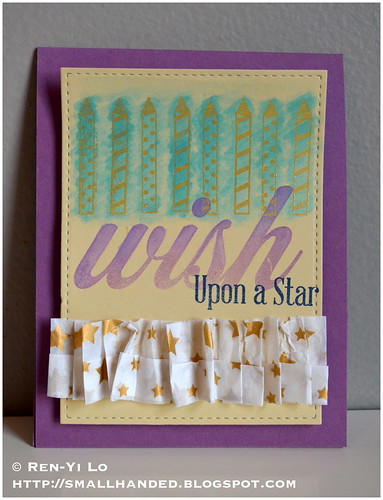
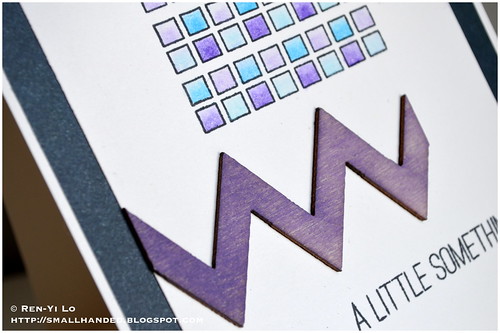
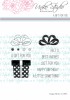
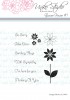
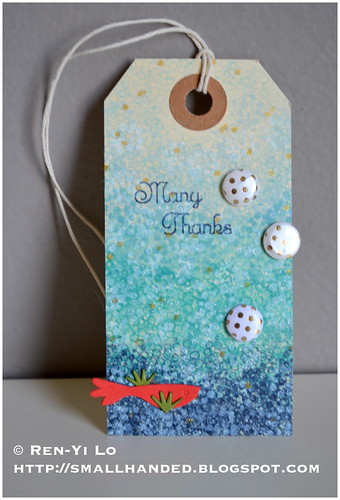
I decided to whip out one of the newer Uniko Studio sets Big & Bold Wish. When the sentiments cover up the entire card, it become a nice focal point and I love that it will stand out so well. All we need is a die for that *hint hint Bev* to cut it out nicely.
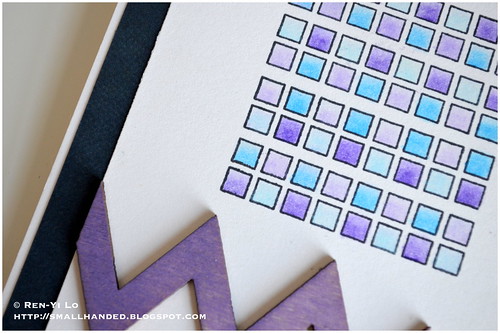
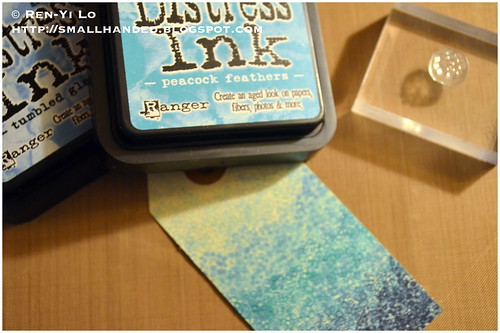
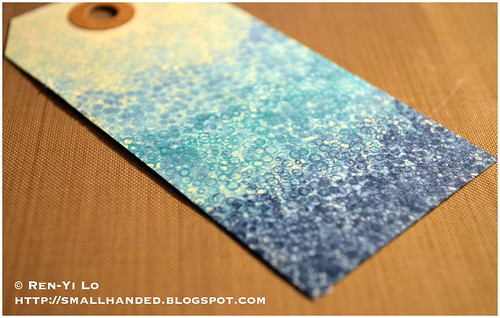
To create a background I decided to stamp the candles in Versamark and clear embossed them. I then took some Inka Gold Turquoise metallic color, diluted it with water and decided to color the candles in. It behaves similar to water color when it is diluted, only that the color is metallic and shiny. After it tried, I also rubbed it down with some paper towel to polish to a shine. It's one of the special properties of this medium. See the shimmer?
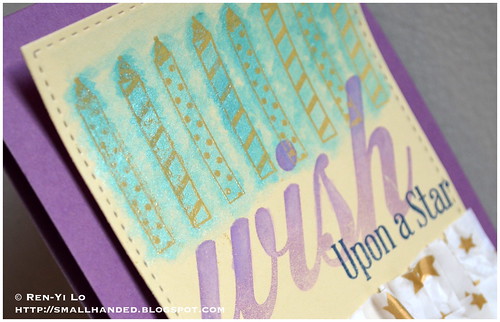
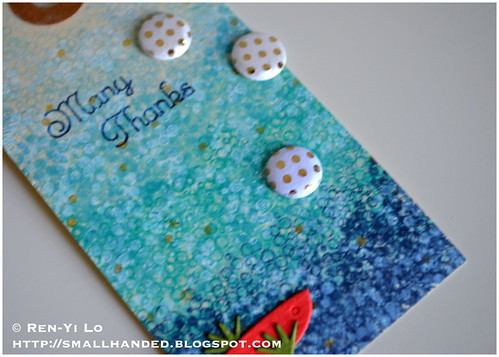
I think one happy accident is that the clear embossed candles came out metallic and almost gold after applying the Inka Gold Turquoise. I also like how rocking the huge sentiment onto the ink pad and applying more on the top gives it a bit of an ombre effect. My purple happens to be a pigment ink.
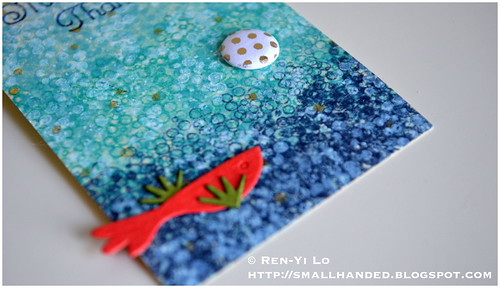
One last "upcycled" item on this card is the tissue paper. It was lying around and came with a gift that I unwrapped, but thought I would use the gold stars in something sooner or later. So when I read the sentiment "Upon a Star" it gave me right shove to use it up. I accordion folded the tissue paper and the messily adhered it with some liquid glue.
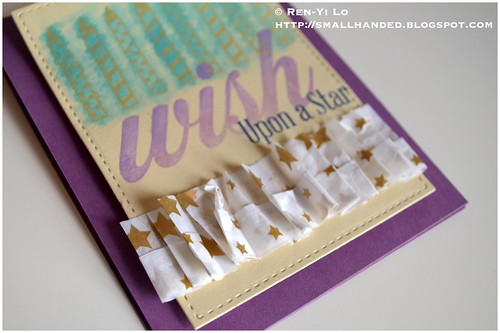
I was thinking of running my sewing machine over the tissue paper portion, but turns out that my sewing machine is still packed away. So I better just let it be ;) Not as clean and simple as it could be, but still a fun card.
Please also check out the rest of the girl's cards and leave them a sweet comment or two. Remember you don't have to use all the colors - any or all as an inspiration.
Lastly, a few helpful things to remember:
- Challenge ends Oct 14th, 2014, 11:59p BST; Check back for the winners after
- Prize is £10 Gift Certificate to the random Winner & a Guest Design spot on our following challenge
- Three people will win a spotlight
- We would like you to use a Uniko Studio product; If you don't have any, check out the freebies here
I hope to see you play along, so that I can pop in on your lovely blogs! See you soon.
Supplies
Stamps: (Big & Bold Wish) Uniko Studio
Paper: (Fresh Linen, Plum Pudding) Papertrey Ink
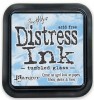
Ink: (Jenni Bowlin - No. 9 Spice Tin) Ranger; (Versamark) Tsukineko; (Eggplant) Mama Elephant
Embellishments: (Inka Gold - Turquoise) Viva Decor; (Creative Cuts - Femme Frames) Mama Elephant; (Stamp 'n Stuff Embossing Powder - Detailed Clear) Stampendous!; (Tissue Paper) recycle stash;
Supplies
Stamps: (Big & Bold Wish) Uniko Studio
Paper: (Fresh Linen, Plum Pudding) Papertrey Ink
Ink: (Jenni Bowlin - No. 9 Spice Tin) Ranger; (Versamark) Tsukineko; (Eggplant) Mama Elephant
Embellishments: (Inka Gold - Turquoise) Viva Decor; (Creative Cuts - Femme Frames) Mama Elephant; (Stamp 'n Stuff Embossing Powder - Detailed Clear) Stampendous!; (Tissue Paper) recycle stash;