Tuesday, March 18, 2014

[Uniko Studio] Challenge No. 8 - Hello Spring


Hi everyone - I'm a day late with my Uniko Studio challenge card. Puh, lighting issues. With the weather over cast and me getting home late, I am missing my window of opportunity for clear, crisp pictures. You saw how distorted my purple looked in the previous post, but this is just more reason to go invest in a photo tent. Is this something appropriate to add to a wedding registry? HA!

Here is this month's color combo...

Photo Credit: Design Seed

And our theme this week is Hello Spring. I have a lot of friends whose birthday are at the start of spring. There is always a shortage of birthday cards, isn't it? So I used this prompt to make a birthday card for a friend who I was meeting for dinner today. This is also my super basic attempt on mixed media.
Happy Birthday
Stamps: (Background Builders - Lattice, Flower Power #3) Uniko Studio; (Across the Card) Neat & Tangled
Paper: (Paper Basics Card Stock - Vintage Cream, Spring Moss, White) Papertrey Ink
Ink: (Versamark) Tsukineko
Embellishments: (Stamp 'n Stuff - White Opaque) Stampendous!; (Inka Gold - Turquoise, Champagne) Viva Decor; (Idea-ology Tissue Tape - Sketchbook) Ranger; (Gelatos) Faber Castell; (Candi - Gold Wedding) Craftworkcards; (Gesso) Golden


Ever since I bought a set of Gelatos I have been wanting to dapple more in the mixed media trade. So where does one begin with Mixed Media? A bunch of Youtube videos...that's where ;)

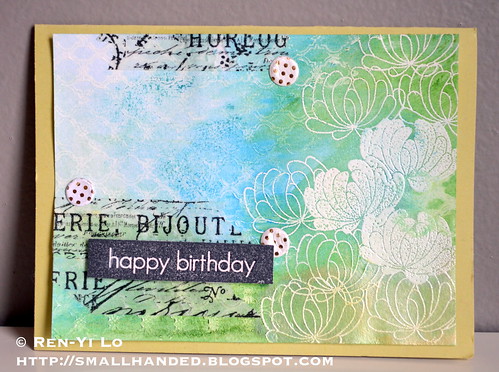
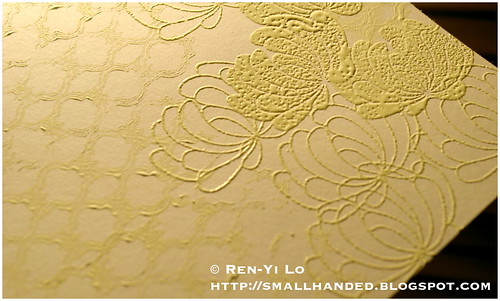
I started to realized that mixed media involves a bit of planning. Think of what parts you want to shine through and have as a focus, because those may require some preparation. In my case, I knew I wanted those flowers from Flower Power #3 to shine through. The way to highlight that area is to create a resist where the Gelatos have no chance for coverage. 

I heat embossed a bunch of flowers using both the positive and negative stamps from the set. I also brushed on Gesso onto the Lattice Background stamp. Make sure to clean the Gesso immediately off the stamp, since this is a medium that will set. On another note, make sure that this part is completely dry. If you're unsure, you can run your heat gun over the Gesso.
Happy Birthday

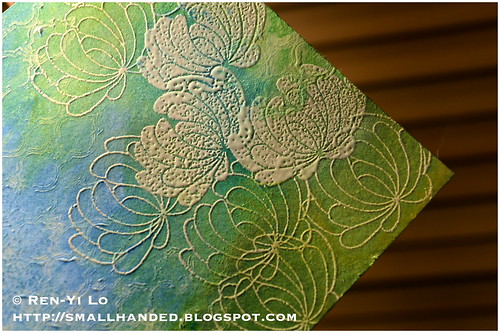
I then applied green, blue and white Gelatos liberally across the card stock, heavier in the bottom right corner, less on the top left. I then applied water ontop of the Gelatos, which allows me to pull and blend the colors according to how I wanted to mess with it. 

One thing I will remember is that you can always apply more medium, but you can't apply less. So I should have started off a little less heavy with the Gelato for a more gentler, water color background. Also, paper towel is your friend. Cleaning off the embossed surfaces with paper towel allows the white to be cleaner and crisper. Remember those areas do not take on the medium. I do like how the Gesso Lattices add texture but are not as defined as the heat embossed area. What do you think?
Happy Birthday

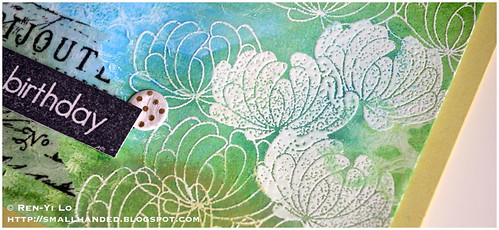
Here is another up-close look of the embossed part in better lighting. You can see the different layers of colors and textures quite nicely.
Happy Birthday

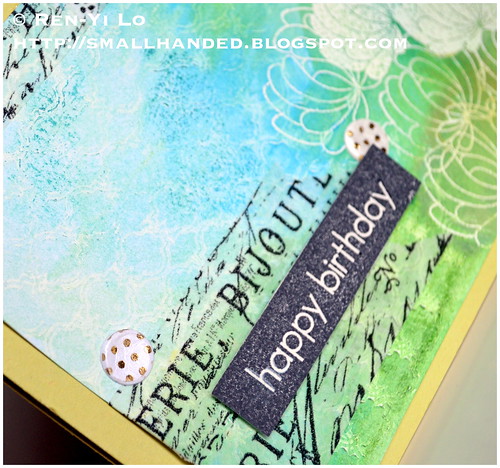
I finished the card up by adding a bit of Turquoise and Champagne Viva Gold. It gives it that bit of metallic shimmer. I also popped on some Candis in Wedding Gold, added some Ranger tissue paper (which I love since it is so transparent), and added a sentiment to pop off the card.
Happy Birthday

This mixed media thing can be pretty fun. I'm looking forward to playing more with my Gelatos. Hopefully you feel inspired to try this new fun medium too.

Please also check out the rest of the girl's cards and leave them a sweet comment or two. Remember you don't have to use all the colors - any or all as an inspiration.

Lastly, a few helpful things to remember:
  • Challenge ends Apr 14th, 2013, 11:59p BST; Check back for the winners after
  • Prize is £10 Gift Certificate to the random Winner & a Guest Design spot on our following challenge
  • Three people will win a spotlight
  • We would like you to use a Uniko Studio product; If you don't have any, check out the freebies here
I hope to see you play along, so that I can pop in on your lovely blogs! Also let us know what you think of this new format of a challenge. See you soon!

Tuesday, March 11, 2014

[Uniko Studio] March Revisited Blog Hop - Beautiful Blooms I

Hello everyone! We are having a blog hop revisiting one of Uniko Studio's popular sets Beautiful Blooms I. Except this month we have a small twist since Bev is releasing some fabulous dies to go with the set. I was so excited to hear this, since those flowers always are begging to be cut - and this is just so much easier :)


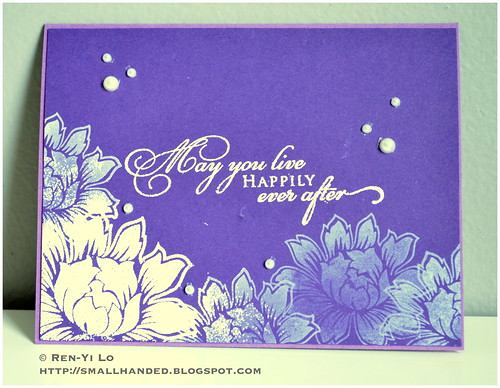
Since the dies didn't reach me in time, I have created a card with just the re-visited stamp set. I was running off to my best friend's bridal shower and her colors are dark, royal purple. This was just the right amount of inspiration to get my started.

Forgive the lighting on the picture. It's completely off, and since I am not in possession of the card, I couldn't take another picture.

May You Live Happily Ever After
Stamps: (Beautiful Blooms I) Uniko Studio; (Big Day - Additions) Waltzingmouse Stamps
Paper: (Paper Basics Card Stock - Royal Velvet, Plum Pudding) Papertrey Ink
Ink: (Versamark) Tsukineko; (Perfect Match Hybrid Ink - Fresh Snow)
Embellishments: (Pearls - 3mm, 5mm) Mark Richards; (Stamp 'n Stuff Embossing Power - White Opaque) Stampendous!


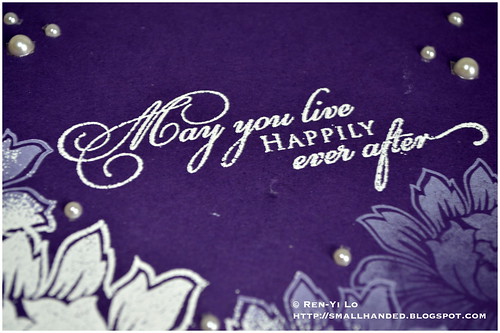
I decided to emboss the sentiment with white embossing powder. Then I layered a bunch of white blooms with white hybrid ink, and chose to emboss the one white bloom to give it some layers. I was also trying to "shade" the flower in by sprinkling some embossing powder onto the sides.

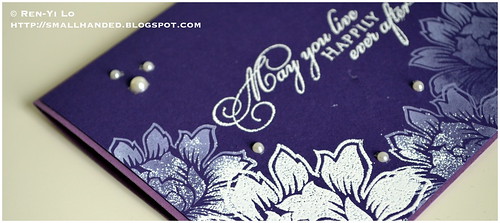
May You Live Happily Ever After

A few pearls to finish the look. I will have to post up the wedding invites that I did for this shower, and you'll see how I kept it all in the same color scheme and style.

May You Live Happily Ever After

Hope you feel inspired with some samples. Make sure to stop by Stacey's and Gayatri's blog since this is the last blog hop - I will be so sad to see these two lovely girls go. They have been a true inspiration and I really enjoyed sharing an opportunity to design along side them.

On a more happy note, we also have one other person joining us - Gillian. I'm so glad to see join the team. Your Uniko Studio work has been really impressive thus far and I hope the rest of the fan base is just as equally excited.

Back to housekeeping: Bev is going to draw a winner for the stamp set AND the designer dies. In the meantime, I'm sending you off to fabulous, amazing Stacey.

Here the whole list for easy navigation ...
I hope you like what you're seeing. Hope to see your creations soon!

Tuesday, March 4, 2014

[Uniko Studio] Wow

It's miserably cold out today. I'm ready for this weather to go. We also signed up with our local CSA (Community Shared Agriculture) and I want the ground to thaw so that they can start planting delicious fruits and vegetables. One of my crafty friends was instagramming a palette of strawberries (yes, Laurie, I mean you!) and I was just a tinge jealous. 

So instead I had to busy myself at my desk and make something bright and cheery. 

I'm putting the new Uniko Studio set "Explosion!" to good use. Don't you love how the title of this stamp set as an exclamation mark on it? I love it.


Well here is the CAS version of happy bright colors...

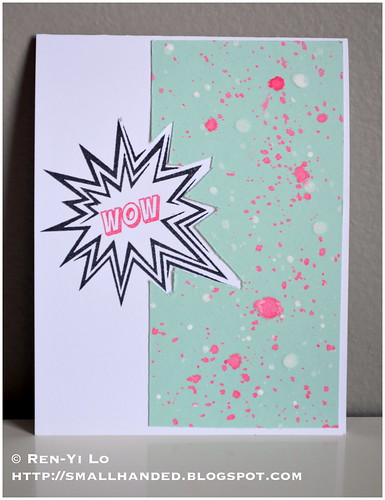
Wow
Stamps: (Explosion!) Uniko Studio
Paper: (Paper Basics Card Stock - Aqua Mist, White) Papertrey Ink
Ink: (Creative Color Pigment Ink - Lollipop) Mama Elephant; (Memento - Tuxedo Black) Tsukineko
Embellishments: (Mister Huey Neon Mini Mists - My Little Pony; Mister Huey Color Mists - Calico White) Studio Calico


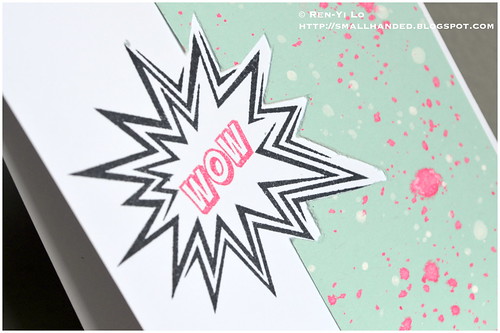
I wanted to show the explosion off as the center of the card. So I used Versamark to stamp off the Explosion silhouette on the Aqua card stock again and tried to cut out the best I could with the Xacto. It's not as clean as I would like it, but you know what that means. I will be bugging Bev to make a die for this and she won't hear the end of it. 

Explosions! makes me think of Batman from the 1960s and how the screen would flash up with "POW" and "BAM." And somehow I wanted it to be whimsical and loud, so I decided to have some neon shades (I swore I would never buy neon inks and refuse to get on that bandwagon, but the one time I could use them... Darn!) So Mister Huey Neon mists and the most pigmented pink ink had to suffice - there you have it.

Wow

Anyways, there is plenty of time to enter our Uniko Studio challenge. Maybe this fun card will get you going?

Saturday, March 1, 2014

[Uniko Studio] Happy Birthday Gift Card Holder

Hi everyone. How is everyone making out with the snow? Talking to all my friends, it seems it's warm everywhere, except the US. And it's suppose to snow this coming Monday. Thankfully we have work from home options. At least I don't have to drive on slippery roads, looking paranoidly into my rear view and side mirrors for that crazy car. With our two recent car wrecks (with no injuries, Thank God!), I declare myself done. When you're on first name basis with the body shop dude and know his phone number by memory, it's time to find something different to use up my "free time" ;)... oh like crafting, which is why we are here.

Uniko Studio is having a challenge. Make sure to check it out. In case you need some idea inspirations, I have something for you. 

Today I'm showing you an out of the box way to use "A Gift For You." 


Like the set says, it's all about gifting, just in time for that birthday thing we are invited to today. We wanted to gift our good friend a date to Longwood Gardens with his wife. Longwood Gardens happens to be one of our favorite places, since this is where I took Florian on his birthday after we started dating.

Since we don't know when our friends will go, we will gift it to them in the form of a gift card.

Happy Birthday
Stamps: (A Gift For You) Uniko Studio
Paper: (Pb&J Collection) Basic Grey
Ink: (Creative Color Pigment Ink - Ocean) Mama Elephant; (Memento - Tuxedo Black) Tsukineko
Embellishments: (PB&J - Designer Chipboard) Basic Grey; (Arrow Paperclips - White) Freckled Fawn


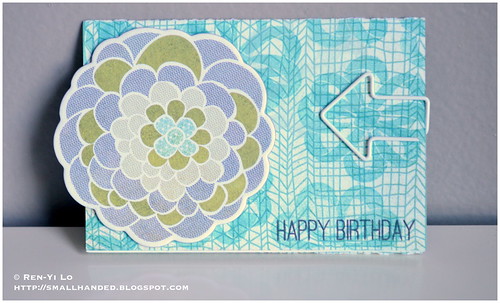
I tried to make this gift card botanical for the Longwood Gardens theme, but not too girly. Picking colors like aqua, blue, green and gray color schemes seems safe enough. I had a gift card holder from AMC that I repurposed by lining the gift card holder with some Basic Grey paper. A bit of scoring at the right places and some stamping makes up the base of the gift card.

If you look carefully, I took the solid bow portion of the stamp set and decided I could convert them into flowers. Isn't it fun to see how to stretch the stamps into something more? Here is a closer look at the stamping. The "flowers" are fun and whimsy - adds to the fun graphical look.

Happy Birthday

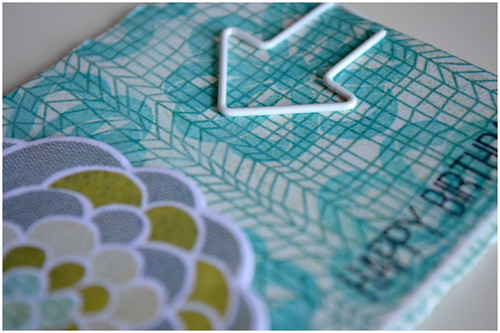
The paper clip is from Freckled Fawn and a neat way to hold the entire thing together, while keeping in line with the graphic look. I had toyed with the idea of using washi tape, but there was not a good place to put it.

We added our birthday wishes on the inside cover. I hope he will like his gift. That's all I have for you and make sure to check out the Uniko Studio challenge.
Related Posts with Thumbnails